ABOUT THIS RECIPELemon in the Tomato Sauce
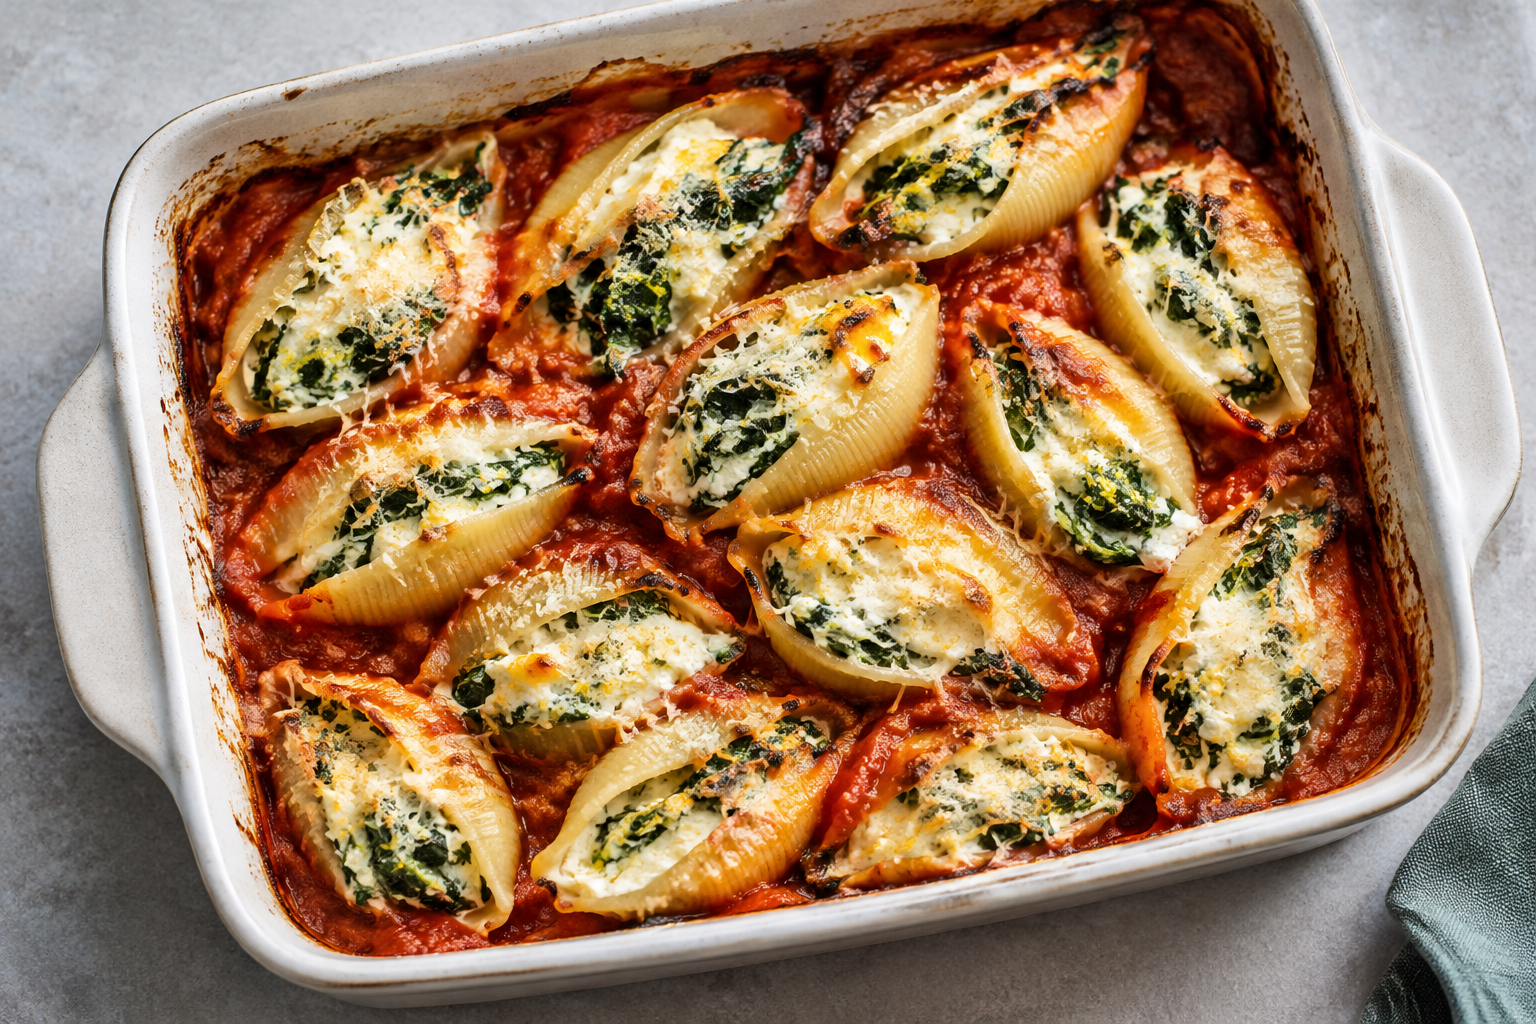
This is a modern, Italian-inspired baked dish, not a specific regional classic. The large shells, also known as conchiglioni, are easy to fill with a spoon and hold their shape if you don’t cook them all the way through. They finish cooking in the tomato sauce in the oven, so you’ll need plenty of sauce: any dry spots between the shells can dry out before the pasta is tender.
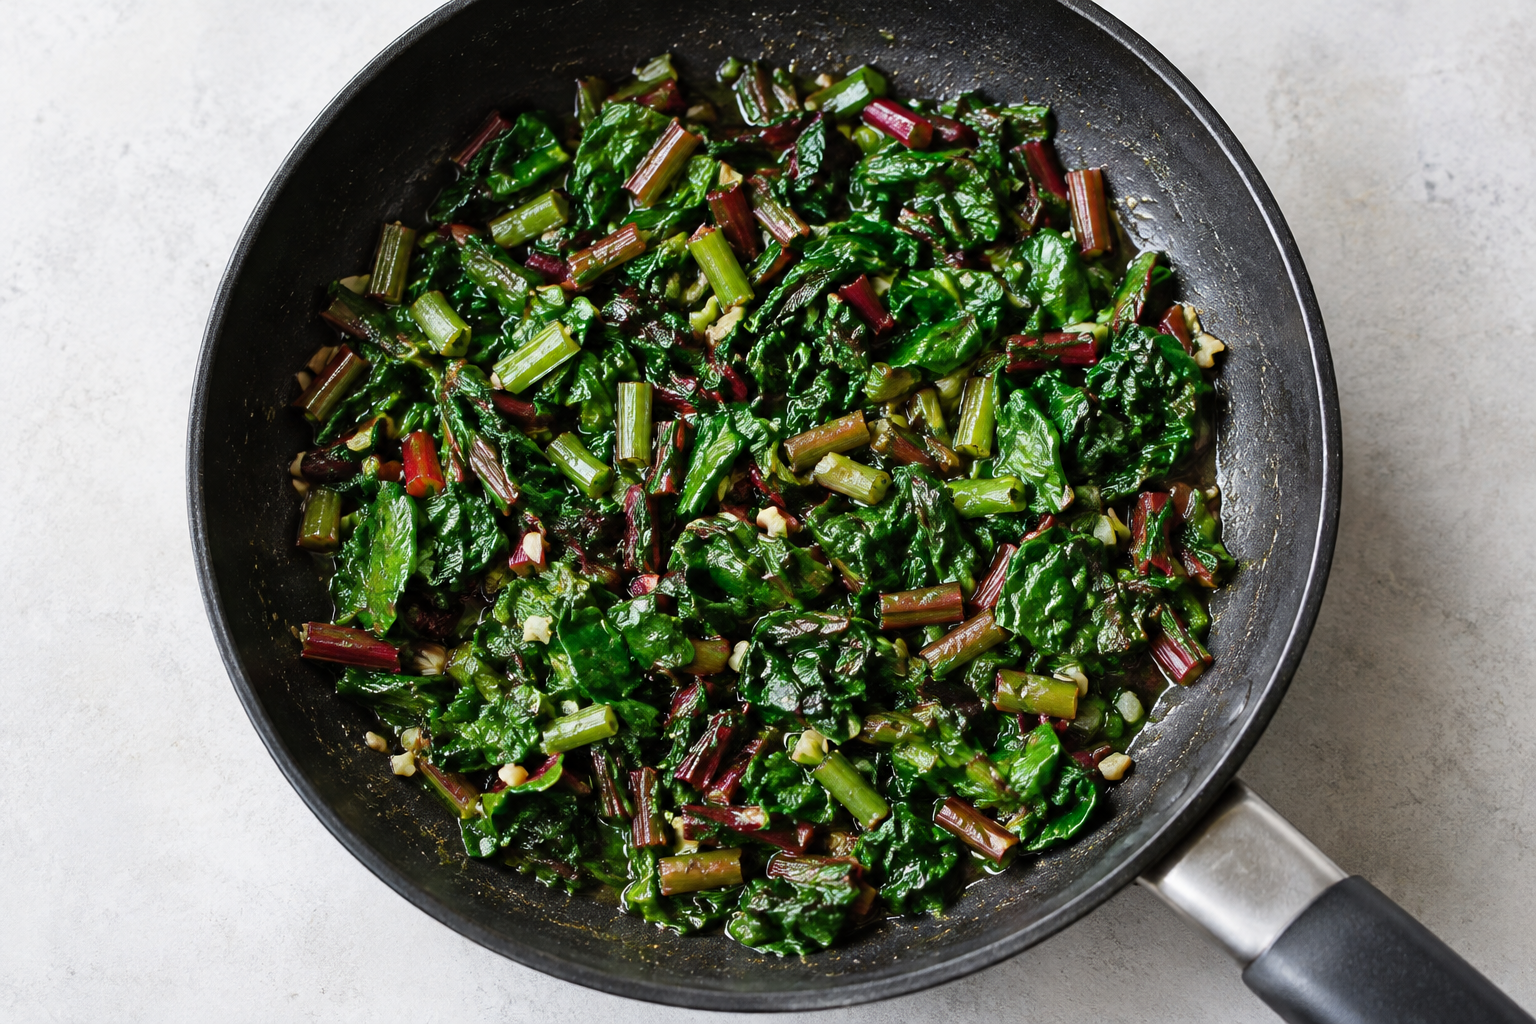
Chard gives the ricotta filling more bite and a slightly earthy flavor. Both the leaves and stems can be used; chop the stems finely and give them a little more time in the pan than the leaves. Chard is generally available from late spring through fall, but the filling also works with spinach. Spinach wilts faster and contains a lot of moisture, so squeeze it well after cooking. Whichever vegetable you use, let it cool before mixing it into the ricotta.
Lemon zest brightens the soft, creamy filling without making the tomato sauce taste sour. Grate only the yellow part of the peel; the white pith underneath can be bitter. Black pepper adds a little kick, and Parmesan brings saltiness and savory flavor. Ricotta varies in firmness from brand to brand. If yours is very wet, let it drain for a while in a fine-mesh sieve so the filling doesn’t become watery.
Cook the shells for less time than the package directions suggest, and handle them gently when draining: they can split if they’re fully cooked. A wide baking dish makes filling and serving easier. The shells should be mostly nestled in the sauce, but can remain visible at the top so the edges turn lightly golden. Use passata for a smooth sauce or canned strained tomatoes. If the sauce is very thick, stir in a little water before adding the shells.
You can fill the dish ahead of time and keep it covered in the refrigerator; preferably add the sauce just before baking so the pasta doesn’t absorb moisture for too long. Serve with a green salad or roasted vegetables. Store leftovers covered in the refrigerator and reheat until piping hot throughout. A splash of water in the dish helps keep the sauce from drying out too much as it reheats.
 Main course